Enabling Lip-sync Control for Each Look
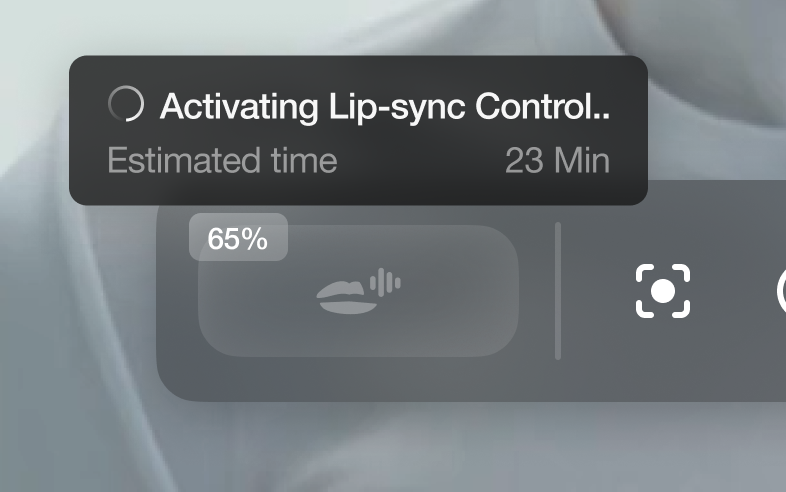
After Activation: Start Lip-sync Control
Once activation is completed:Step 1: Initiating Lip-Sync
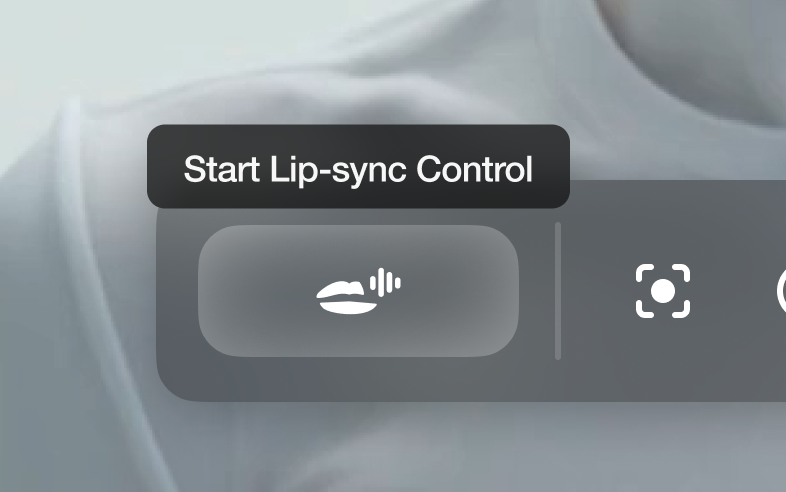
- Click Start Lip-Sync Control to enable synchronization. It will take 7-8 seconds.
- Allow microphone permission when prompted.
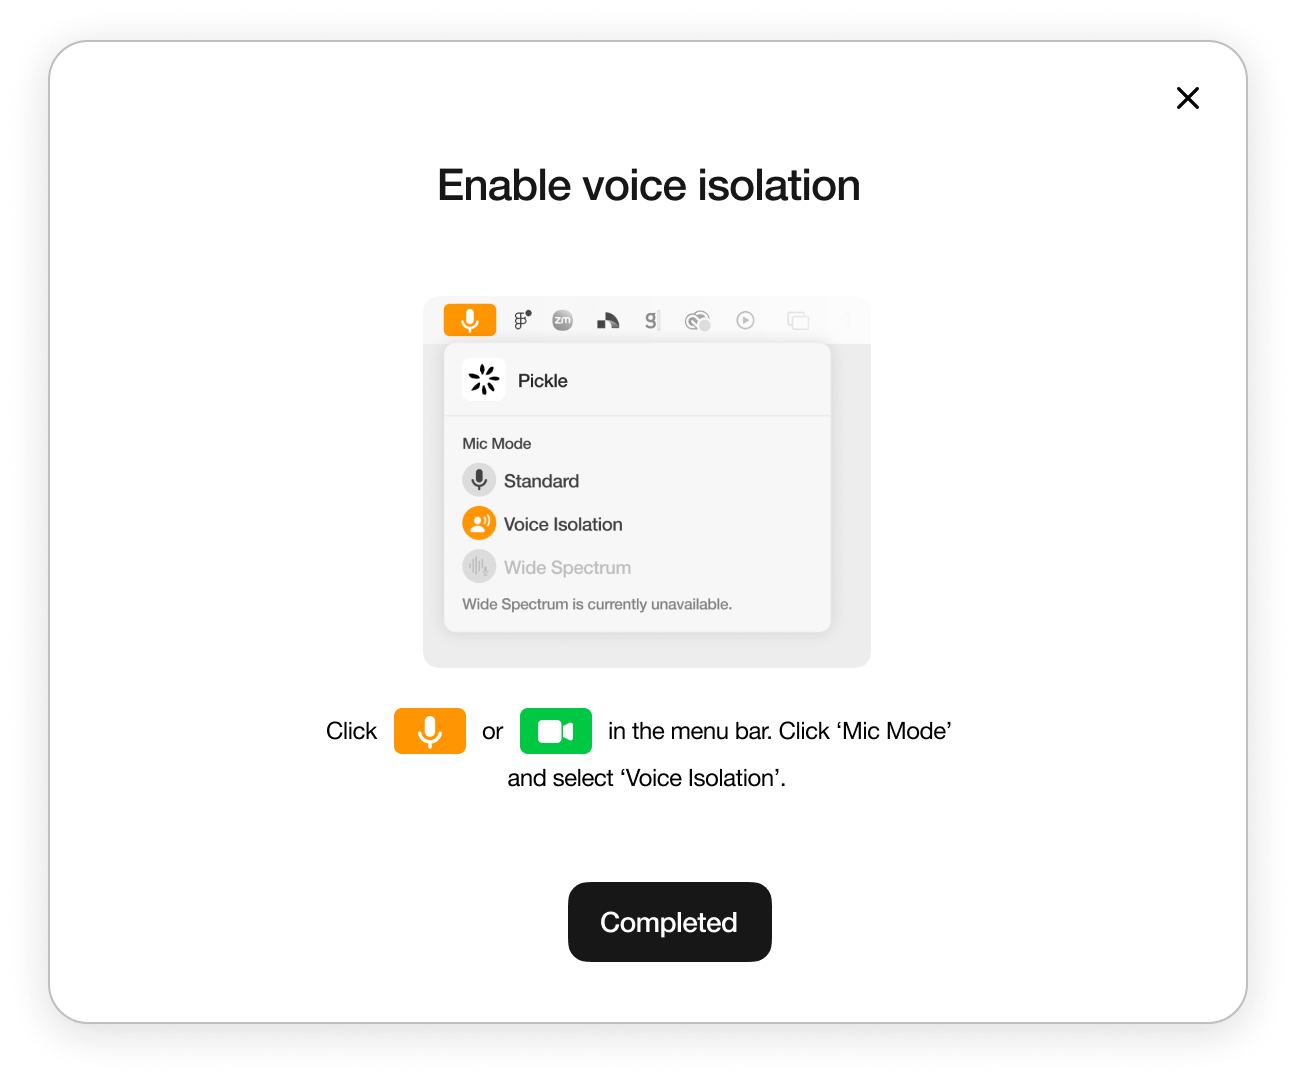
Step 2: Enable Voice Isolation
Step 3: Using Lip-sync
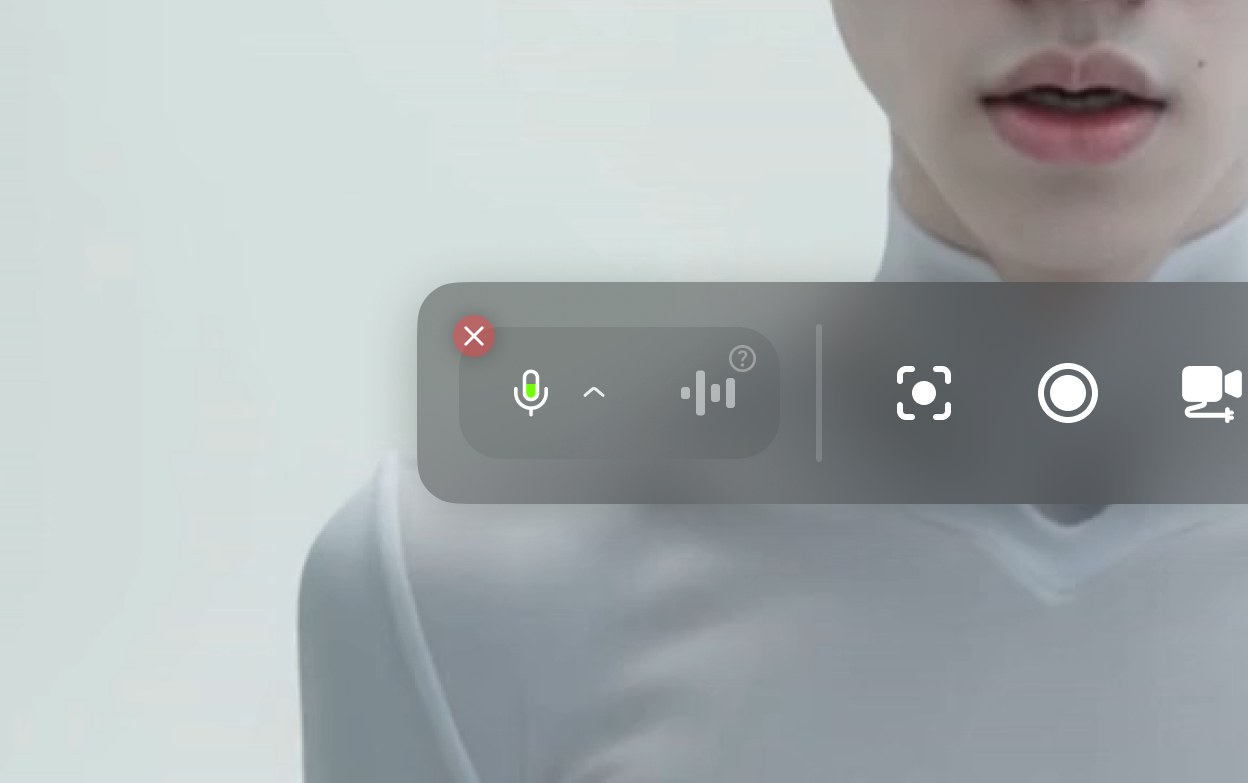
Control Panel
Selecting Microphone
Selecting Microphone
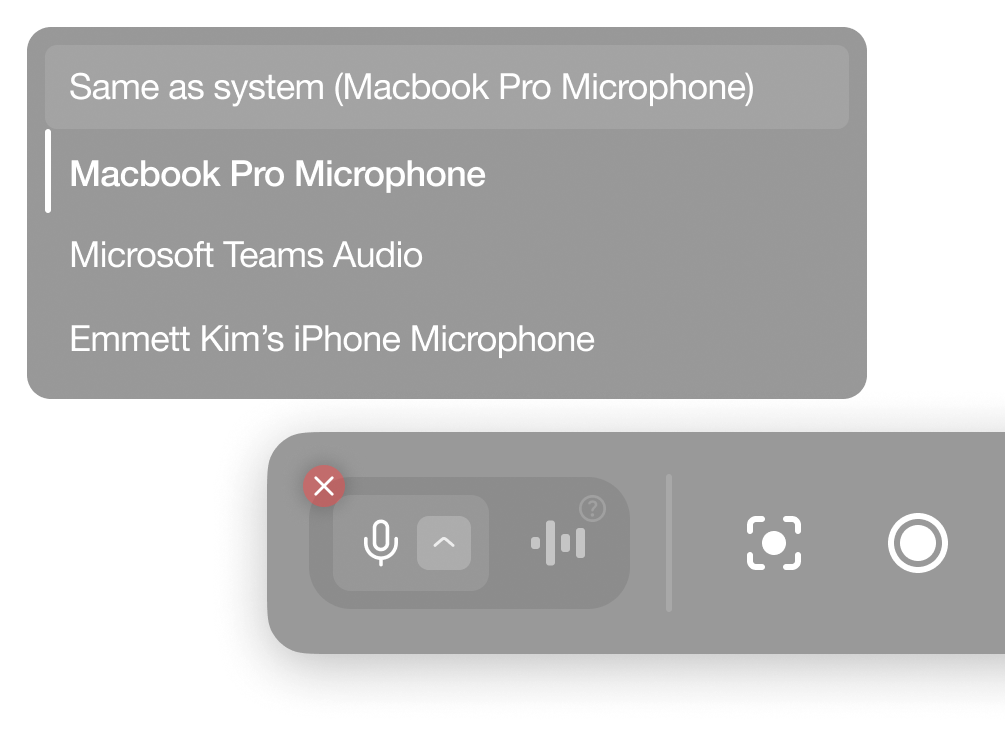
Tip: Using Airpods usually gives best results when you try to use your AI Self in virtual meetings.
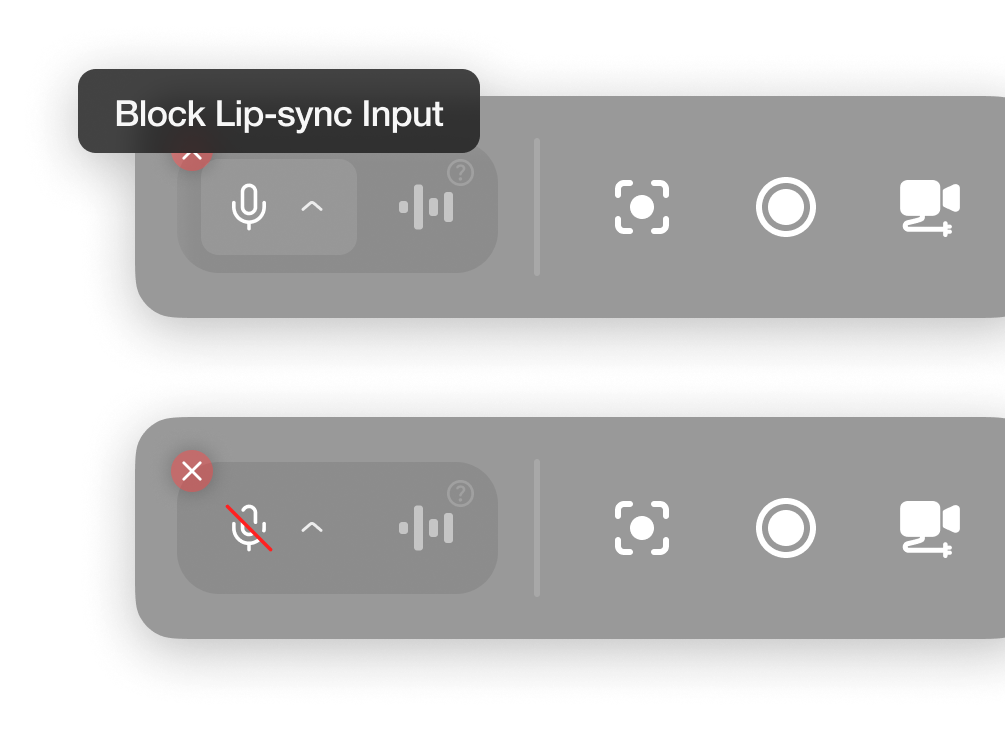
Blocking Voice input
Blocking Voice input
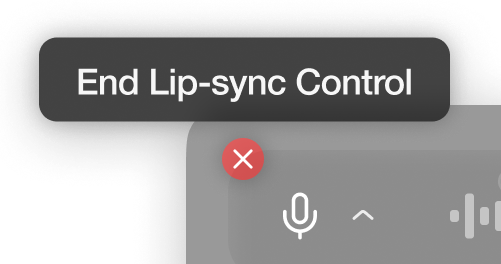
Ending Lip-sync Control
Ending Lip-sync Control
Pickle Delayed Voice for Lip-sync
This is for when you try to stream your AI Self into other apps like Zoom. It is an audio stream that has exactly same 0.5s delay with your AI Self View when you’re using lip-sync control. For a detailed explanation, see Stream to Other Apps.Voice Isolation
Voice Isolation prevents your microphone from capturing opponent’s speaking audio. Effective when using built-in microphones (e.g., MacBook Pro Microphone) instead of earbuds. This setting is saved, so you don’t need to enable it every time.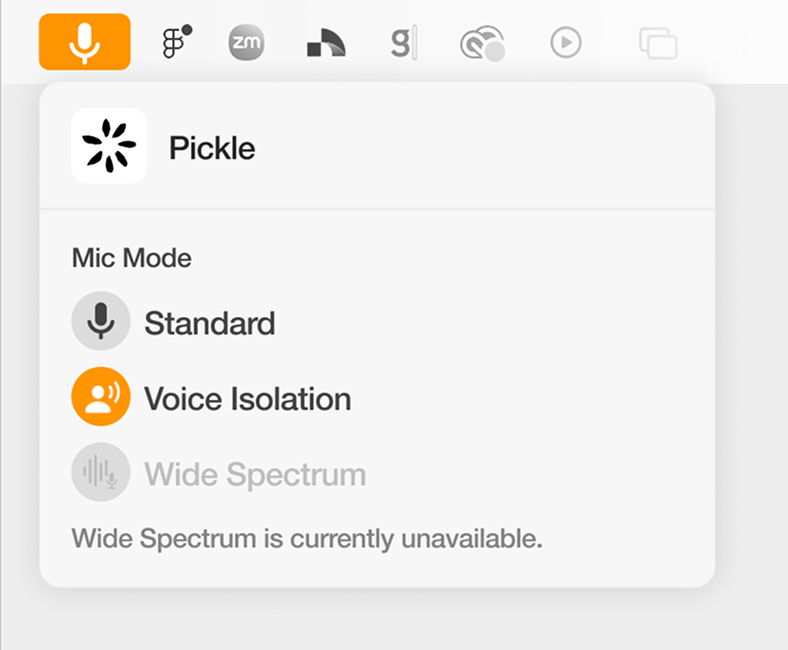
- Click on orange icon on the top menu bar when lip-sync is on.
- Click ‘Mic Mode’ and select ‘Voice Isolation’.